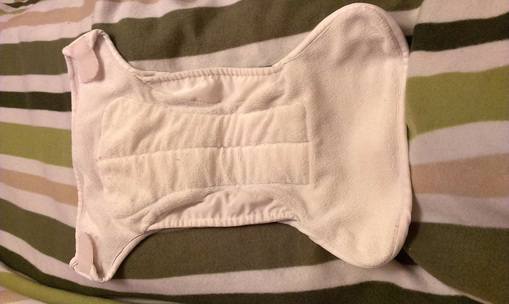
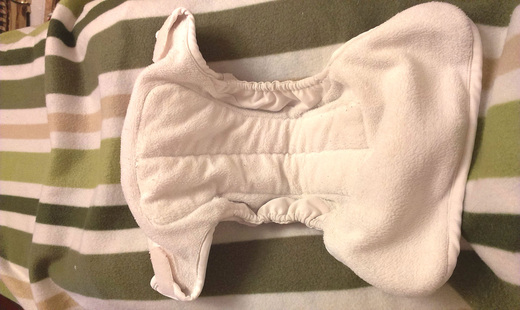
So here we have a Lollipop All in One nappy (AIO) which happens to be one of my favorite nappies. The only problem is that it is completely flat. Anything that's not a prefold or a terry shouldn't be flat. The elastic on each leg gusset and on the back has completely gone, meaning this nappy is like a colander. However this can be fixed, easily in fact. In less than half an hour and with a needle and thread.
You will need:
Needle and Thread
Scissors
Tape
1 cm or thinner elastic (1 foot will easily do one nappy)
Something long and thin (crotchet hook or skewer)
Needle and Thread
Scissors
Tape
1 cm or thinner elastic (1 foot will easily do one nappy)
Something long and thin (crotchet hook or skewer)
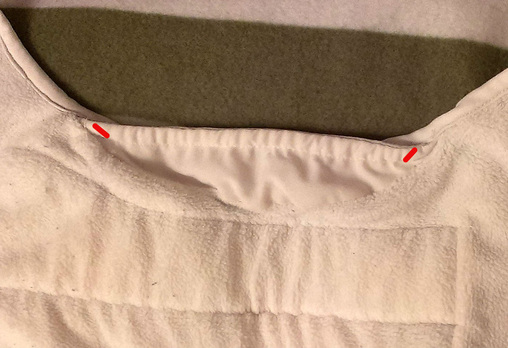
First locate the gusset, and find the very edge of the seam on both sides. About one centimeter from the edge (where it connects to the rest of the nappy) make a horizontal cut. Imagine the seam as a tube and you are making a cut into it, to get inside. Be careful not to cut into the stitches on either side, or to cut straight through.
Take your thin, pointy thing (I used a size 3 crotchet hook but a kebab skewer or knitting needle would work great) and push it through the first hole. Pass the stick the entire length on the seam until it comes out the second hole.
Take a little piece of tape and stick the end of your elastic to the stick. Pull the stick out of the seam, threading the elastic through the hole in the process. Remove tape. You should now have the new elastic threaded through the gusset.
Some nappies will have this style of knicker elastic already in them. With this method it is fine to ignore it and just insert your new elastic. However, nappies like Lollipop, particularly some of the older ones have a very small elastic thread which is stitched into the seam, so the typical methods of removing or tightening elastic will not work.
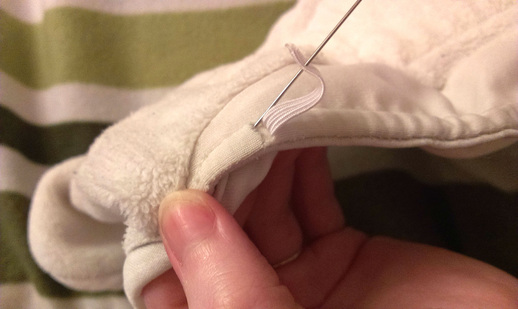
Pull the long end of the elastic so that only 1-2 centimeters are visible. Thread the needle and push through the bottom of the elastic and through the top layer of the gusset.
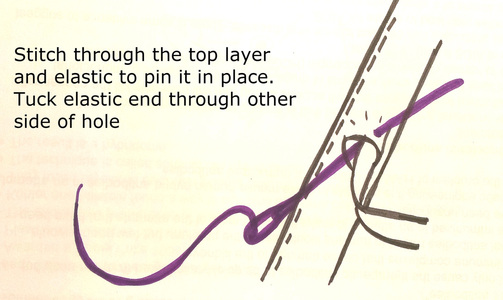
Repeat this several times, attaching the elastic to the top layer of the gusset. This ensures you will not accidentally puncture the PUL. Tuck the spare end of the elastic into the opposite end of the hole. Stitch the hole together. This can be messy as no one will see. You can see my war wound here where I accidentally stabbed myself.
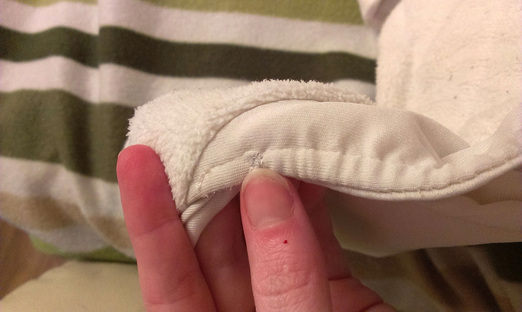
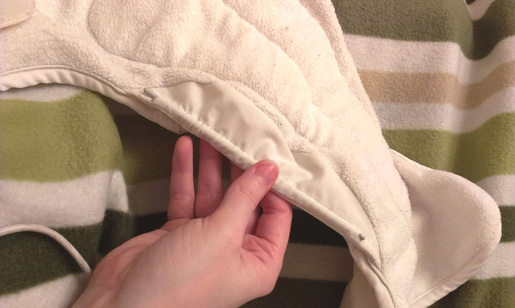
Below you can see the new elasticated gusset (top) and the old flat one (bottom) you can see already that the new elastic is pulling the nappy into the shape it should be and it no longer lies flat.
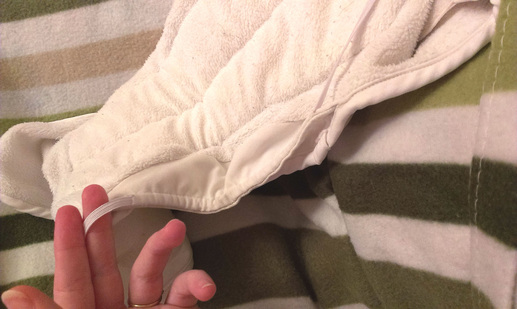
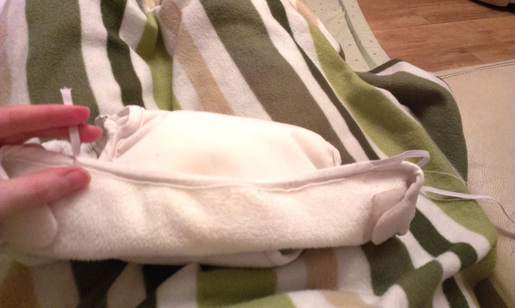
We repeated the above steps and here we have two fully elasticated gussets. After finishing the second one, I realized I had done the first one looser than I wanted. If this is the case you can make a second cut into the seam, 1 cm inwards and pull the elastic out until correct tension is achieved. Then stitch the elastic to top later and tuck the remaining into opposite side.
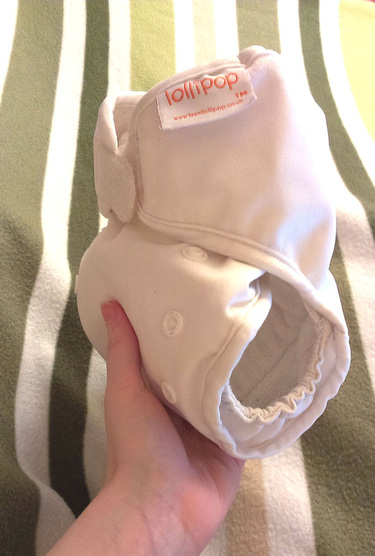
Lastly the back of the nappy had lost its elastic. Here you have to feel for the edge of the previous elastic, it will feel like a small bump usually an inch or two from the fastenings. Make two cuts in the same manner as on the gusset, although take care not to cut right round or your cut will be visible from the outside. Thread the elastic through. Stitch as with the gussets (I tried to keep the stitches a bit neater here).
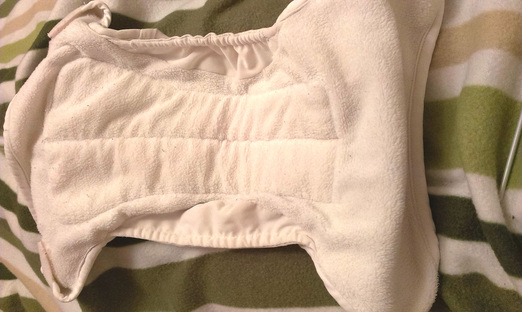
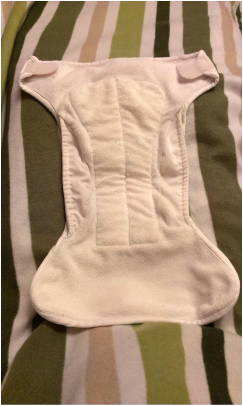
So now for the finished product! On the right we have the original, nappy with dead elastic. On the left we have the brand new elastic!
 |  |
Now this old nappy will never win a beauty contest, but it works wonders for night times and it really would have been a shame to bin it. The whole idea of cloth nappies is to be ecologically friendly, so I think everyone should give repairing elastic a go, its easier than you think! I have a few more nappies to fix so if you want a video or skype to show you the ins and outs drop me a message, and if not, post me your nappies with a paid postage bag, I'll fix em up and post them back!
 RSS Feed
